

The Cost of Skipping Maintenance Shows Up a Year Late
“The mold ran fine for the first 300,000 shots, then one morning it just started flashing everywhere and the cycle time crept up 15 percent. Nobody could tell me why until we opened it.”
That’s the sentence we hear most often from buyers who inherited a mold that was never properly maintained. The frustrating part is that the damage was never sudden — it accumulated, shot by shot, while the tool looked completely fine on the outside.
A preventive maintenance (PM) schedule doesn’t just stop a mold from breaking. It keeps your cycle time stable, your tolerances where the drawing says they should be, and your part quality consistent from the first shot of a run to the last. This guide gives you the checklist we actually use on our own tools — broken down by frequency — plus the wear parts you should always keep on the shelf and the signs that tell you a tool needs attention before it fails.
Why Preventive Maintenance Beats Reactive Repair
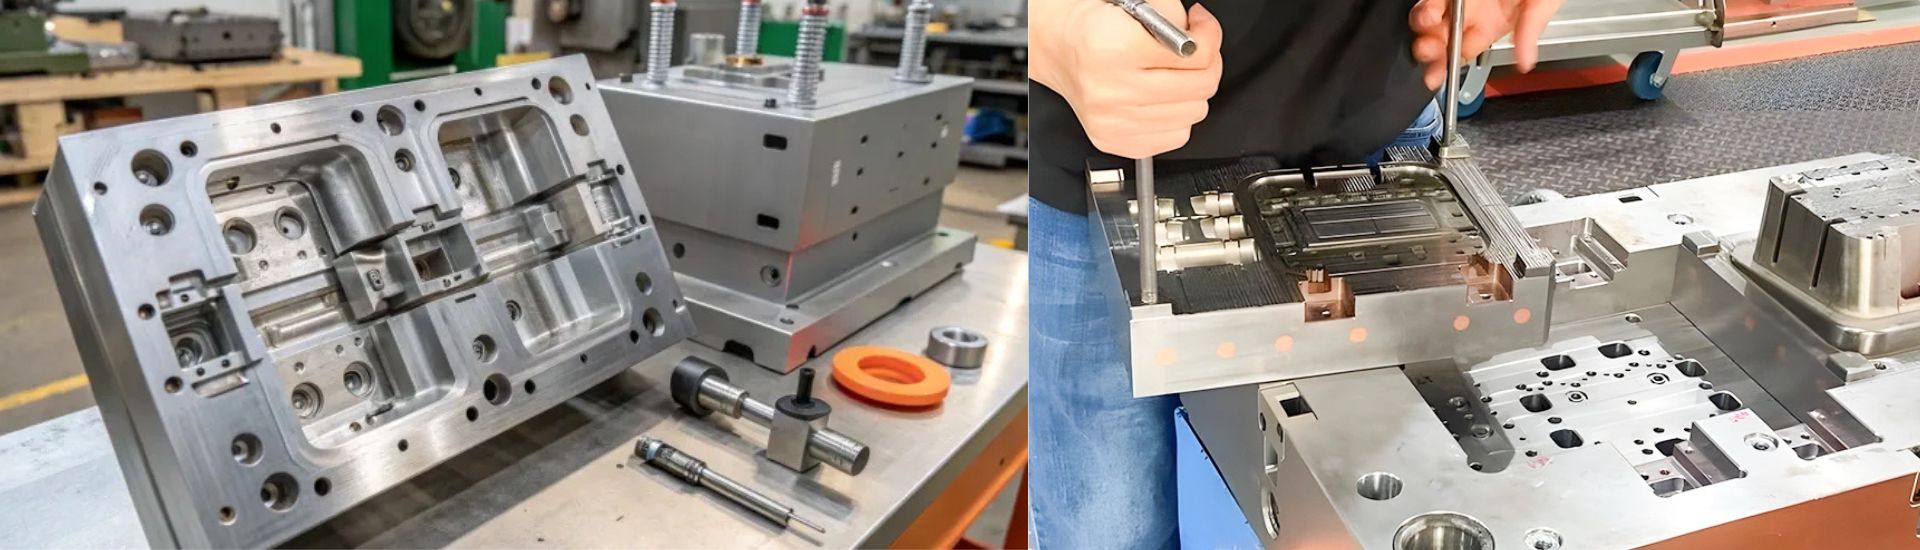
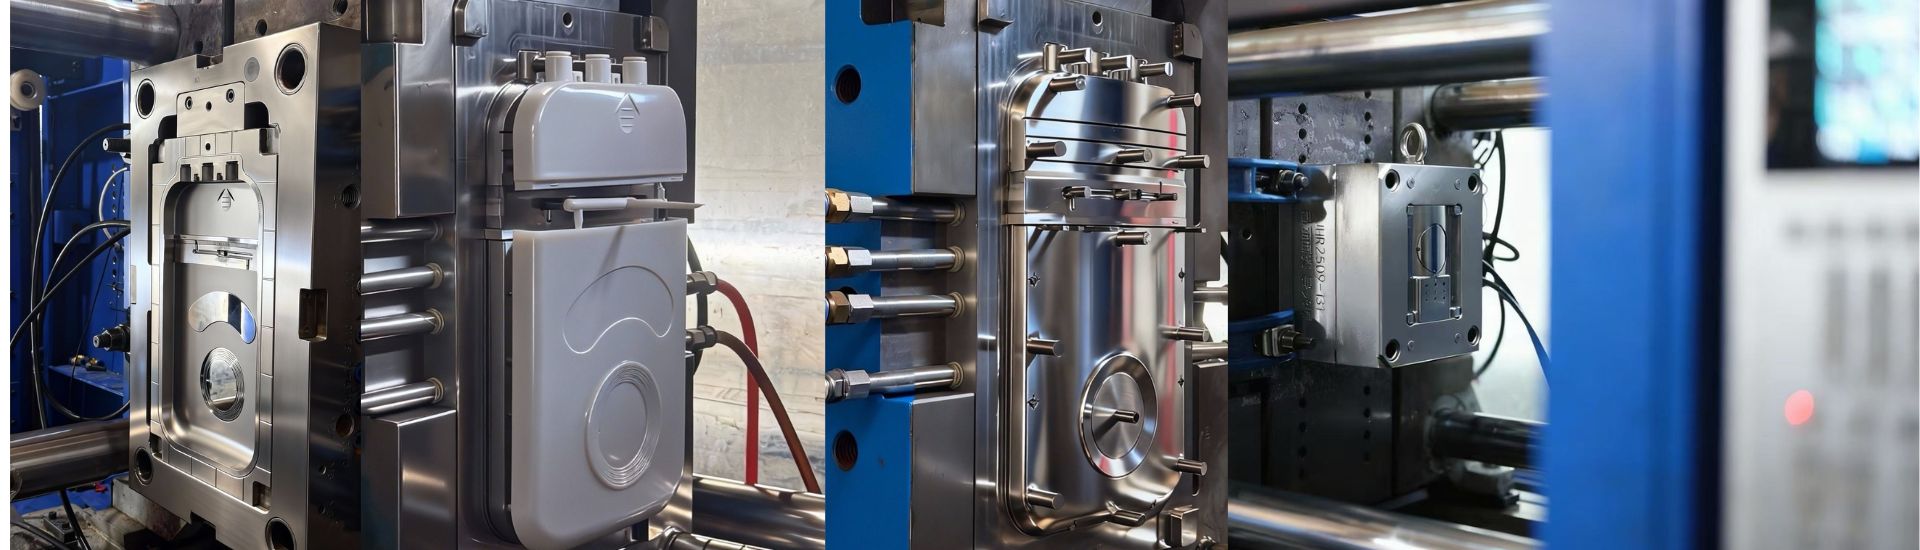
Every injection mold is a precision machine that opens and closes tens of thousands of times against heat, pressure, and abrasive polymer. The steel doesn’t “wear out” evenly — specific points take the abuse: the ejector pins, the guide pins and bushings, the shut-offs, the runner and gate, the sliding components, and the cooling channels.
Left alone, each of those points degrades in a predictable way. A dry ejector pin galls and starts to bind. A worn guide bushing lets the halves shift, and the shut-offs start to flash. A clogged water channel raises the mold temperature and stretches your cycle time while you wonder why the part warped. Reactive repair means you discover each of these after it has already cost you bad parts and downtime; preventive maintenance catches them while they’re still cheap to fix.
The math is simple: a planned one-hour clean and re-lube during a shift change is far cheaper than an emergency tear-down mid-production run. For a deeper look at the steel choices that determine how well a tool survives repeated cycles, our mold steel selection guide explains which grades hold up best under heat and abrasion.
The Maintenance Frequency Ladder
No single “PM schedule” fits every mold, because a tool’s maintenance needs scale with how hard it’s being run. But the ladder below is the starting point we use, and it covers the full range from daily checks to a full teardown.
| Frequency | What you do | Why it matters |
|---|---|---|
| Daily / every shift | Wipe the parting line, check for flash, verify ejector stroke, confirm cooling water is flowing, log cycle time and any alarm | Catches the earliest sign of a drifting tool before it produces a full shift of bad parts |
| Weekly | Clean the vents and the ejector area, check lubrication points, inspect the nozzle tip and sprue bushing, top up grease | Clogged vents and dry slides are the two most common causes of burns, shorts, and galling |
| Monthly | Full external clean, verify alignment of the guide system, check screw and tie-bar torque on the press, flush water lines if flow has dropped | Catches alignment drift and cooling degradation before they move your dimensions |
| Every 100k shots or quarterly | Pull the ejector system, clean and inspect pins and sleeves, check wear on the shut-offs and slides, measure a few critical cavities | This is where most tools either get saved or silently start to die |
| Annually / at 300k–500k shots | Full teardown, deep clean, replace worn pins and bushings, re-polish cavities, verify water channels, re-check all dimensions against the drawing | Restores the tool to near-new condition and extends its total life by years |
These intervals assume a tool running standard thermoplastics in normal production. Glass-filled resins, high-temperature materials, and very high cycle counts will compress the schedule — sometimes a lot — so treat the ladder as a floor, not a fixed rule.
The Daily Shift Checklist (5 Minutes)
This is the check that pays for itself the fastest, because it happens while the press is already running and costs almost nothing.
- Watch the parting line. Flash, especially flash that appears on one side only, is the first sign of uneven clamp force, a worn shut-off, or a slightly open tool. One flash on the parting line is worth investigating now, not after 10,000 more shots.
- Verify the ejector stroke. If ejection sounds louder, stutters, or the parts are hanging up, you likely have a binding pin or a dry guide — both are five-minute fixes now and expensive repairs later.
- Confirm water flow. A cooling line that has silently clogged will raise the mold temperature and stretch your cycle, and you’ll notice it in the cycle-time log long before you see it in the part.
- Log the cycle time. Cycle time is a mold’s blood pressure. A slow upward creep over a week almost always means cooling or a filling problem, and the log is how you catch the trend instead of the symptom.
- Listen. A mold that starts to rattle, squeak, or hiss differently is telling you something. Most tool failures announce themselves acoustically before they announce themselves with scrap.
The Weekly Checklist: Vents, Lube, and the Nozzle
Three things account for the majority of avoidable mold problems, and they’re all on the weekly list.
Clean the vents. Vents are shallow channels that let air escape as the plastic fills the cavity. When they clog with residue, trapped air causes short shots, burns, and weak knit lines. A simple brass brush or a soft tool on the vent land restores them in minutes. For more on the defects that clogged vents actually cause, our guide to the 12 most common injection molding defects connects each symptom back to its root cause.
Re-lubricate the moving parts. Guide pins, bushings, slides, and the ejector return mechanism all need a thin, mold-safe grease. Use the right product — a general-purpose grease can contaminate the part or break down at molding temperature.
Check the nozzle tip and sprue bushing. A worn or misaligned nozzle tip causes drool, stringing, and inconsistent shot size. It’s one of the cheapest parts on the tool and one of the most commonly ignored.
The Deep-Clean and Inspection: Every 100,000 Shots
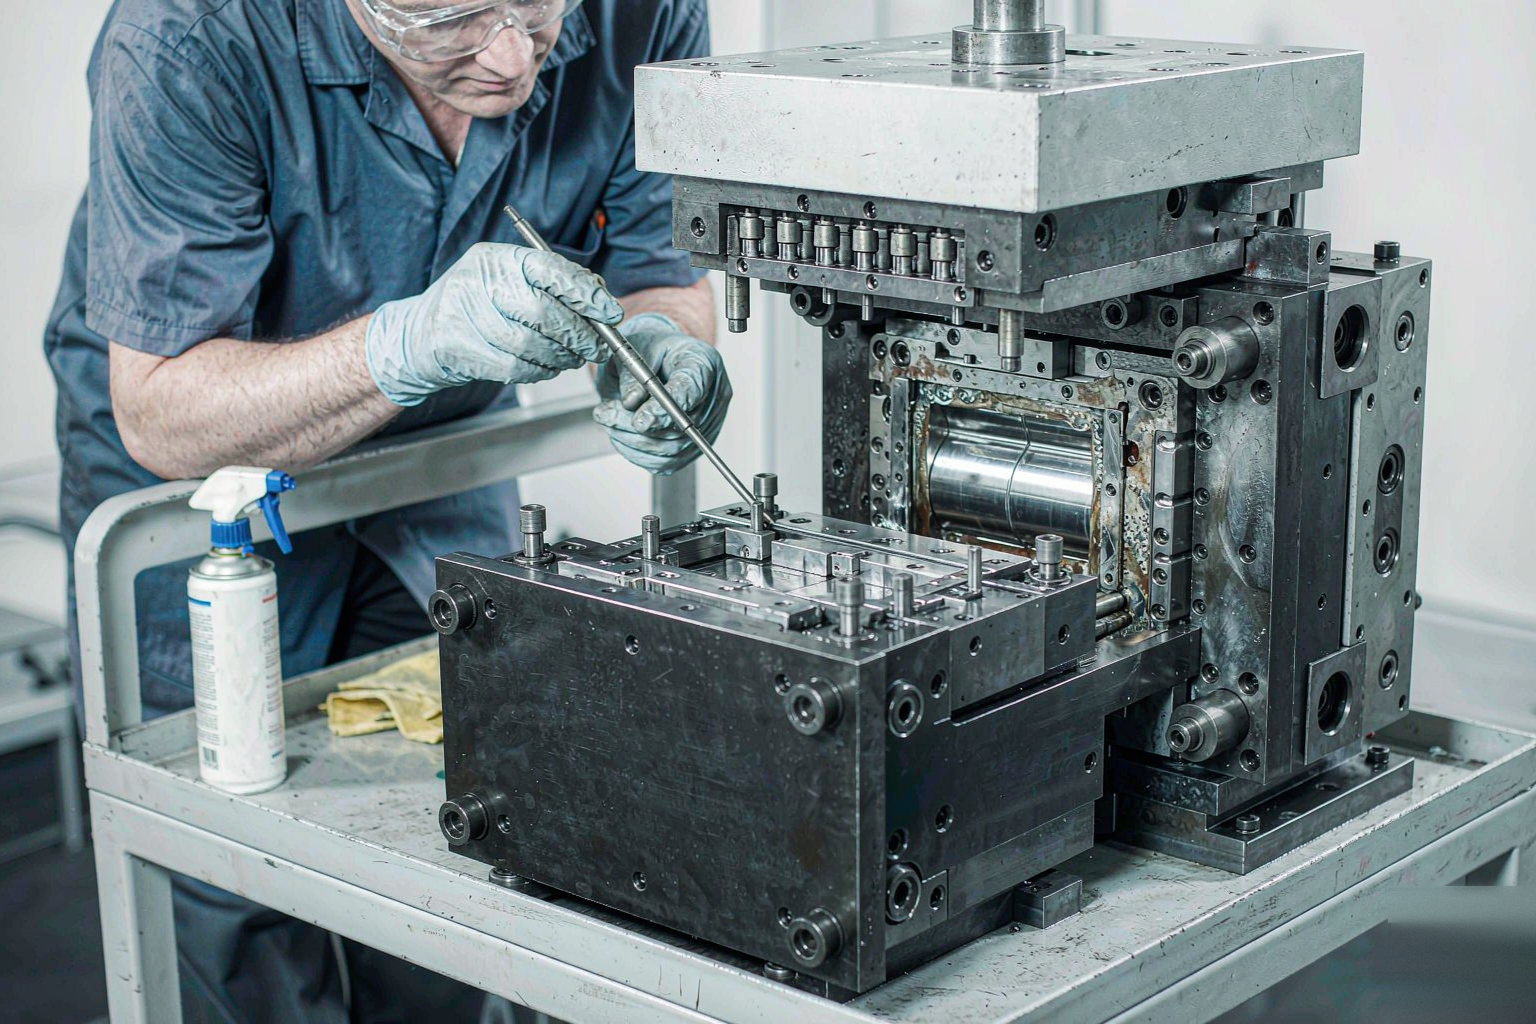
Around every 100,000 shots (sooner with abrasive or filled materials), the tool comes out of the press for a proper service. This is the maintenance event that actually decides how long your mold lives.
Pull and inspect the ejector system. Remove every ejector pin and sleeve, clean off the polymer residue, and check each one for galling, bending, or mushrooming on the head. A bent pin that keeps running will eventually score its bore and turn a $5 pin into a $500 rework. Replace anything questionable — pins and sleeves are consumables, not lifetime parts.
Check the shut-offs and slides. Look at every mating surface that seals off the plastic. Wear here shows up as rounding, pitting, or a polished step on the edge. Catch it early and it’s a touch-up; let it run and it’s a re-cut.
Measure the critical cavities. Pull a few sample parts and check the dimensions that matter most against your drawing. This is the honest test of whether the tool is still holding tolerance, and it’s the data you’ll want if a customer ever questions consistency.
Flush the cooling channels. Scale and mineral buildup reduce heat transfer dramatically. A proper flush — and a descaler if the water in your area is hard — restores the cooling rate that your cycle time depends on.
The Annual Overhaul: Restore, Don’t Just Clean
Once a year, or at the 300,000–500,000-shot mark for a well-run tool, the mold gets a full teardown and restoration. This is where you catch the slow-moving problems that the shorter checks can’t see.
- Replace worn pins, bushings, and seals. At this point you’re restoring the tool to its designed clearances, not just cleaning it.
- Re-polish the cavities. A polish restores surface finish and, more importantly, release — a part that releases cleanly stresses the ejector system less and cycles faster.
- Verify water channels and any hot-runner wiring. Check for leaks, continuity, and proper thermocouple readings if the tool has a hot runner.
- Re-check everything against the drawing. This is the benchmark that tells you whether the tool is still capable of holding the tolerance it was built to, and it’s the moment to decide whether a re-cut or a repair is warranted.
This annual benchmark is also exactly what a good mold warranty should be built around. To understand what a supplier should cover — and what’s fair to pay for yourself — see our warranty and after-sales explainer.
The Wear Parts to Keep on the Shelf
Downtime in molding is almost never caused by the catastrophic failure people imagine — it’s caused by waiting for a $15 part to arrive. Keep these consumables stocked for every tool in production:
- Ejector pins and sleeves — the single most-replaced part on any mold
- Return springs — they fatigue and lose force long before they visibly break
- Guide pins and bushings — the alignment parts that take the opening/closing abuse
- Nozzle tips and sprue bushings — cheap, and they wear in proportion to shot count
- O-rings and seals — for any water line or hydraulic feature
- Heater bands and thermocouples — if the tool has a hot runner
Ask your mold maker for a spare-parts list with the tool delivery. A supplier that can’t hand you a one-page list of recommended spares is one you should think twice about. It’s a small but telling sign of how seriously they take the tool’s life after it leaves their floor.
When to Pull the Tool Early: The Warning Signs
You shouldn’t have to wait for the next scheduled PM to react to these — any one of them is a reason to pull the mold and inspect, regardless of where you are in the schedule:
- Sudden or one-sided flash that wasn’t there before
- Parts hanging up or ejecting with a bang — binding pins or a dry guide
- Cycle time creeping up with no change in settings — cooling or fill problem
- Burn marks or short shots appearing — clogged vents
- A new rattle, squeak, or hiss — something is moving that shouldn’t be
- Dimensional drift on the critical features — the tool is telling you it’s worn
Each of these is far cheaper to investigate now than to let run. The pattern is the same across all of them: the earlier you open the tool, the smaller the repair.
Make Preventive Maintenance Part of the Sourcing Decision
Here’s the part most buyers miss: preventive maintenance isn’t only something that happens after you own the tool. It should be designed into the tool and into the supplier relationship from the start.
When you’re sourcing a mold, ask these three questions up front. They’ll tell you more about a supplier than a price sheet will:
1. “Will you provide a spare-parts list and a maintenance schedule with the tool?” A serious mold maker documents this as a matter of course. If the answer is vague, that’s a warning sign about how the tool was built and how it will be supported.
2. “What maintenance did the tool receive before it shipped, and how will you support it during warranty?” The tool should arrive clean, protected, and with a service record, not just wrapped and crated. The warranty conversation is where you find out whether the supplier plans to stand behind the tool.
3. “Can you hold a maintenance review at the 100k-shot mark?” A supplier that’s willing to review the tool’s condition and measurements with you at the first deep-clean milestone is one that takes the tool’s whole life seriously — not just the sale.
These questions also matter for how quickly you can get support when something does go wrong. Our lead time and delivery guide explains what a realistic service and support window looks like, so you can tell a responsive partner from a slow one.
Get a Maintenance-Ready Tool from the Start
A mold that’s easy to maintain starts with how it’s designed and built — clean venting, accessible water lines, sensible wear parts, and a documented schedule. The best preventive maintenance program in the world can’t fix a tool that was built without maintenance in mind.
That’s the conversation we have with every customer before we cut steel: we design the tool to be maintained, we hand over a spare-parts list and schedule with the delivery, and we support it through its warranty and beyond. Send us your STEP file and tell us what the part does — we’ll run a DFM review and get you a quote within 12 hours, with the maintenance plan built in from day one.