

Why “Mirror Finish” Means Something Different to Every Supplier
“I asked three molders for an SPI A1 mirror finish on my lens housing, and I got one quote for a polished cavity, one that just said ‘high gloss,’ and one that quoted a texture I never asked for.”
That confusion is normal, because the injection molding industry runs on two different surface-finish languages that don’t translate one-to-one: the American SPI standard and the European VDI 3400 standard. If your drawing says “SPI A2” and your supplier works in VDI, or the other way around, you can end up with a mold that looks wrong, costs wrong, and has to be re-polished — on your timeline.
This guide explains both systems in plain English, shows how they roughly map to each other and to Ra values, and covers the two things that actually decide cost and lead time: how the finish is made, and how it holds up over the life of the mold. It’s written for buyers and engineers who need to spec a finish correctly the first time, not for people who already run a polishing room.
Why Surface Finish on the Mold Matters More Than You Think
The surface finish on the plastic part is almost entirely a mirror of the surface finish cut into the mold cavity. Plastic faithfully reproduces whatever texture, gloss, or scratch pattern is in the steel — so the finish on the tool is the finish on the part, for the life of the tool.
Finish affects three things at once:
- Appearance. Gloss, haze, texture depth, and how the part reads under paint, plating, or film. A Class-A automotive or cosmetic part lives or dies on this.
- Function. Draft, ejection, and wear. A fine texture can help a part release, while a rough one can trap it; a too-smooth surface can show flow lines or sink more obviously.
- Cost and lead time. Polishing is skilled, manual, and slow. Going from a machined surface to a true mirror finish can add real days and real money to a tool — and it’s often specified by habit rather than by need.
The practical point: you should not pay for a finish you don’t need, and you should not accidentally leave a finish off a surface that needs it. That’s what the two standards are for — giving you a precise, repeatable way to say exactly what you want.
The SPI Standard: A, B, C, D Finishes Explained
SPI (Society of the Plastics Industry) classifies mold finishes into four grades — A, B, C, D — from the glossiest to the most textured. The A, B, and C grades are all achieved by polishing; the D grade is a blasted, textured finish.
SPI A — High-gloss / mirror finishes. Three levels (A1, A2, A3), achieved with progressively finer diamond compound and polishing. A1 is the highest, a true optical mirror with almost no visible tool marks, used for clear lenses and light guides. A2 is a very high gloss for cosmetic transparent and high-gloss parts. A3 is a high gloss that still has faint polishing marks — the standard “glossy” look most people actually want.
SPI B — Semi-gloss / satin finishes. B1, B2, B3, achieved with progressively finer abrasive paper (grit ranges from coarse to fine). These are the workhorse finishes for visible parts that should look clean but not mirror-shiny, and they do a good job of hiding minor flow lines and sink.
SPI C — Matte finishes. C1, C2, C3, achieved with fine abrasive stones. A matte, low-gloss surface that hides fingerprints, scratches, and minor cosmetic defects well — common for appliance housings and consumer electronics.
SPI D — Textured / blasted finishes. D1, D2, D3, produced by dry-blasting with progressively finer media (D1 coarsest, D3 finest). This gives a fine matte texture that also functions as a light “grip” texture. D grades are not polished — they’re blasted.
The key thing to remember: within each letter grade, the higher the number, the finer the finish. A1 is glossier than A3; D3 is finer than D1. That numbering direction trips people up constantly.
The VDI 3400 Standard: A Number from Texture Depth
VDI 3400 is the European standard, originally developed for EDM (electrical discharge machining) surface textures but now used broadly for molded-part textures. Instead of a letter-plus-number, VDI uses a single number — typically VDI 12 through VDI 45 or higher — that increases with surface roughness.
The VDI number is tied to a physical roughness reference: each VDI value corresponds to a specific Ra (average roughness, in micrometers) and an Rz value. In rough terms, VDI 12 is a very fine, near-polished surface (Ra around 0.4 µm), while VDI 45 is a coarse texture (Ra around 10 µm or more). The higher the VDI number, the rougher and more visibly textured the surface.
Where VDI differs from SPI is that VDI grades are most commonly produced by EDM texturing — burning a texture into the steel with a spark-erosion process — rather than by polishing. This makes VDI especially common for fine, uniform “etch-like” matte textures and for parts where the texture has to wrap consistently around complex geometry.
SPI vs VDI: How They Roughly Map to Each Other
There is no exact one-to-one conversion, because the two systems measure slightly different things — SPI is partly about gloss and polishing technique, VDI is fundamentally about roughness depth. But for specifying a mold, this rough mapping gets you in the right neighborhood:
| SPI grade | Finish type | Approx. Ra (µm) | Rough VDI equivalent |
|---|---|---|---|
| SPI A1 | Optical mirror | ~0.012–0.025 | below VDI 12 |
| SPI A2 | Very high gloss | ~0.025–0.05 | VDI 12 |
| SPI A3 | High gloss | ~0.05–0.10 | VDI 12–15 |
| SPI B1–B3 | Semi-gloss / satin | ~0.10–0.40 | VDI 18–24 |
| SPI C1–C3 | Matte | ~0.40–1.0 | VDI 24–30 |
| SPI D1–D3 | Textured / blasted | ~1.0–3.0 | VDI 30–36 |
Treat this table as a translation guide for RFQs, not a metrology certificate. When precision matters — on a clear lens, a light guide, or a textured interior that must match an existing part — specify the finish and the target Ra together, and ask the supplier to confirm both. That removes the ambiguity between the two languages entirely.
What a Finish Actually Costs: It’s About Labor, Not Material
Here’s the honest economics of mold finishing, and it surprises most buyers: the steel doesn’t care what finish you want, but the polisher does. A mirror finish is achieved by hand, with a sequence of progressively finer stones and diamond compounds, and each step takes skilled time that can’t be automated away.
Roughly speaking, the step from a machined surface to SPI A3 is moderate work; going from A3 to A2, and especially A2 to A1, adds disproportionately more labor — and more risk, because a single deep scratch in a mirror finish can mean re-polishing the whole cavity. This is why an SPI A1 cavity is quoted at a meaningful premium over an A3 cavity of the same shape, even though the “material” is identical.
Textured finishes (SPI D and most VDI) are different: they’re usually produced by blasting or EDM, which is more repeatable and less labor-intensive than high polish. That’s one reason a textured finish is often cheaper than a high-gloss finish on the same part — and why a texture can actually be the money-saving choice if the part doesn’t need to be shiny.
Two design rules follow from this. First, only spec a mirror finish on the surfaces that are actually visible or functional — a cavity that’s fully A1 when only the lens window is visible is wasted money. Second, remember that texture adds draft requirements: a deep texture grips the part and can stick during ejection, so textured walls usually need more draft than smooth ones. Our draft angle guidelines by material cover exactly how much to add per texture depth.
How the Finish Holds Up Over the Life of the Mold
A finish isn’t a one-time thing — it wears. The steel grade you choose, and the resin you run, both determine how long a mirror or texture lasts before it dulls.
Steel matters first. A pre-hardened P20 mold will hold a high-gloss finish for a long run, but a hardened H13 or S136 stainless tool holds it longer and polishes to a higher luster, because harder, cleaner steel takes and keeps a better polish. For a true SPI A1 mirror on a long production run, hardened stainless is usually the right base. Our mold steel selection guide breaks down which grades hold which finishes.
Resin matters second. Glass-fiber-filled and mineral-filled resins are abrasive — they’ll dull a mirror finish noticeably faster than unfilled resin. If you’re running GF-filled material on a cosmetic surface, either budget for more frequent re-polishing or step the finish down to a satin/matte that hides the wear. This is a classic case where the finish spec and the material selection have to be decided together, not in isolation.
The One Question That Reveals Whether Your Supplier Knows Finishing
When you’re vetting a mold supplier, don’t just ask “can you do A1” — every shop will say yes. Instead, ask a question with a checkable answer:
“For a polished finish, do you verify with a roughness meter (Ra) or a gloss meter, and what Ra do you actually hold on A2 versus A3?”
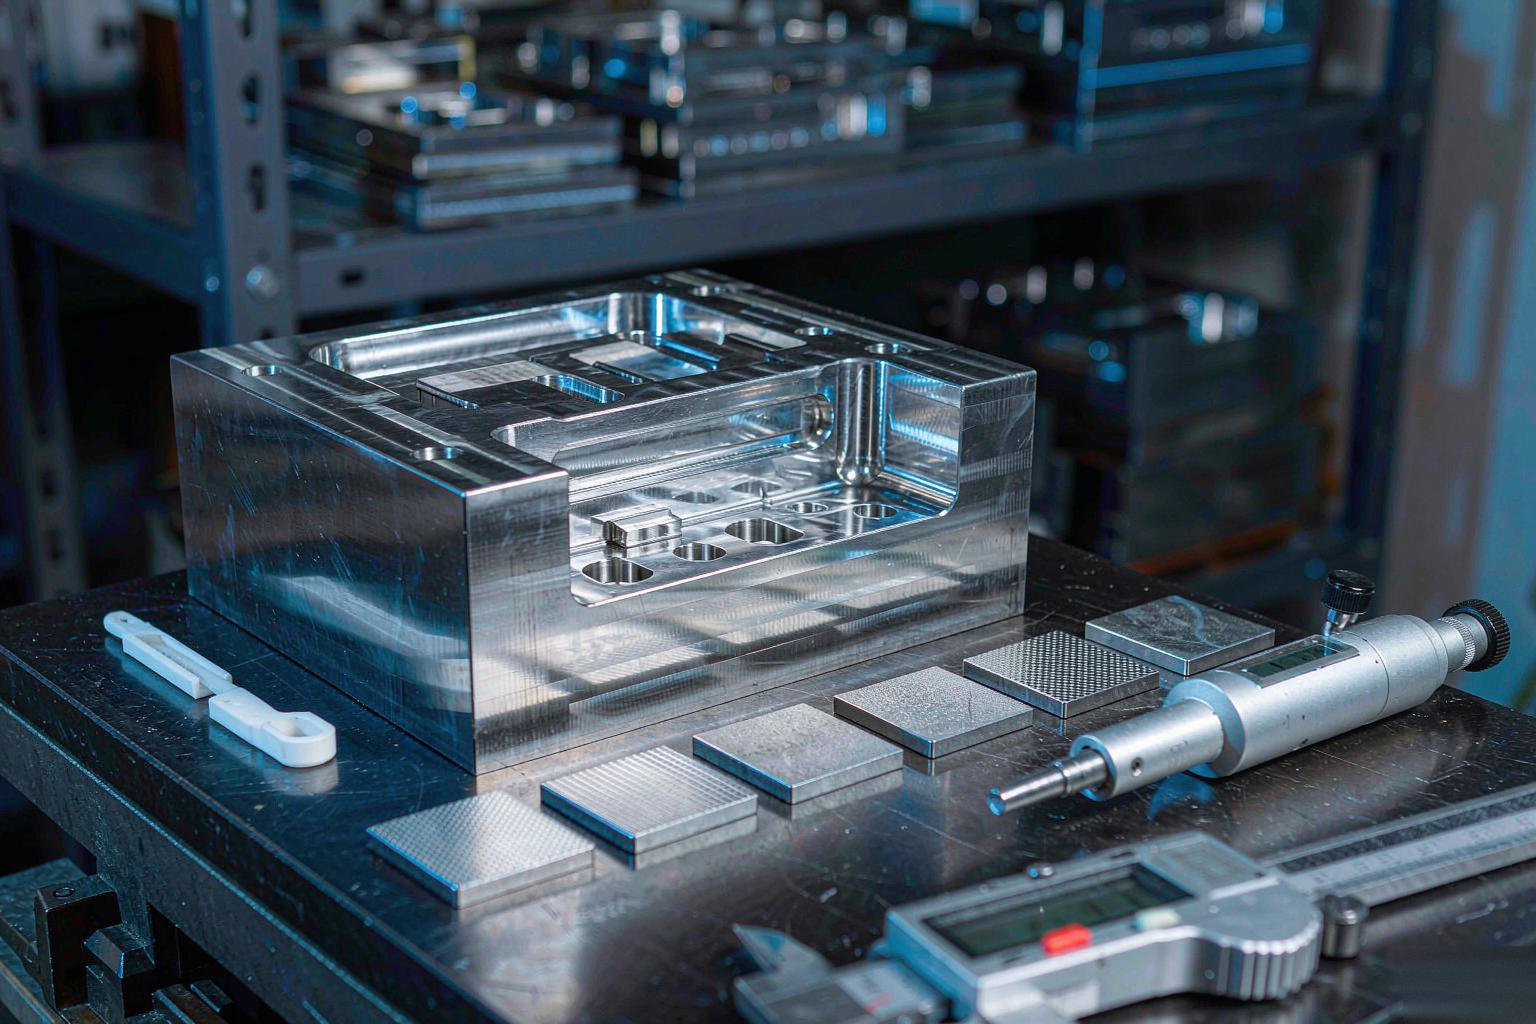
A shop that finishes properly will be able to tell you their measured Ra targets and show you a surface-roughness reading on a sample, not just describe the finish in words. A shop that can’t is likely polishing by eye — which is exactly how you get the “three different answers for a mirror finish” problem we opened with. A proper inspection setup — a surface roughness gauge, and ideally a gloss meter for high-gloss work — is the difference between a finish that’s specified and a finish that’s hoped for.
How to Spec the Finish in Your RFQ (and Get One Answer Back)
To eliminate the SPI/VDI confusion before it costs you a re-polish, put these four things in your RFQ, on the drawing or in the notes:
- The finish in both languages, or with an Ra number. Write “SPI A2 (Ra ~0.03 µm)” or “VDI 18” — don’t leave just “high gloss” or “matte,” which are subjective.
- Which surfaces get which finish. Mark the cosmetic surfaces separately from the functional ones. A textured interior and a gloss exterior should be two different callouts, not one blanket spec.
- The material and fill. State the resin and whether it’s glass-filled, because fill changes both finish durability and how fine a texture you can reliably reproduce.
- The target texture depth if you’re texturing. For VDI or SPI D, give the texture depth or the reference plate number so the EDM operator has a concrete target.
Then ask the supplier to confirm the finish on a sample before you approve production — a textured or polished sample plate, or the actual T1 sample, so you can see and feel the finish against your reference. That one confirmation step catches 90% of finish mismatches before they become a re-polish on your timeline.
Get a DFM Review That Reads Your Finish Spec Correctly
Surface finish is one of the most mis-specified — and most expensive to fix — parts of a mold, and almost every mismatch traces back to the SPI/VDI language gap. Spec it precisely, and a good supplier will quote it precisely; leave it vague, and you’ll get vague (and expensive) results.
Send us your STEP file and your finish callouts, and we’ll run a DFM review that flags the surfaces where your spec is over-engineered (saving you money) and the surfaces where it’s under-specified (saving you a re-polish). We’ll confirm the exact Ra we’ll hold on every graded surface and show you a finished sample before production. Contact D-TOP MOLD and you’ll have a DFM review and a 12-hour quote back.