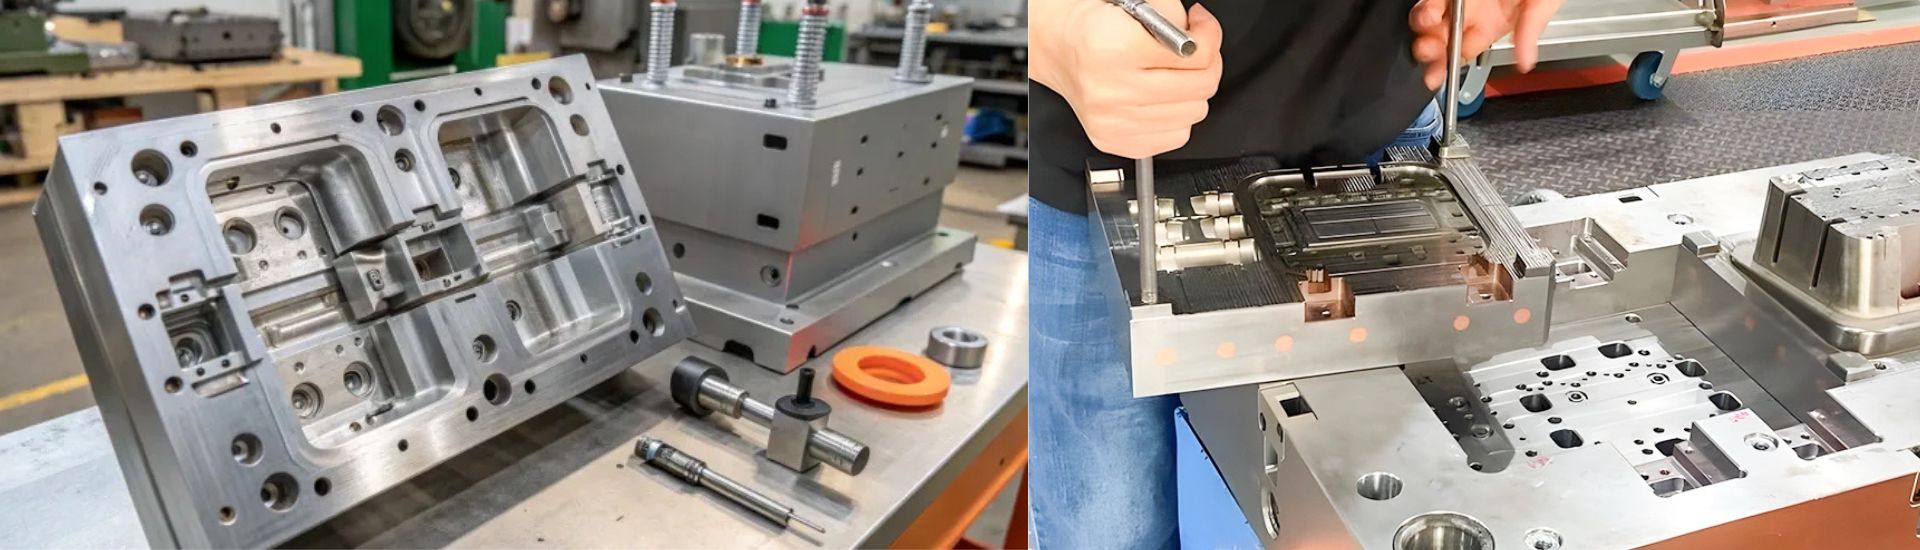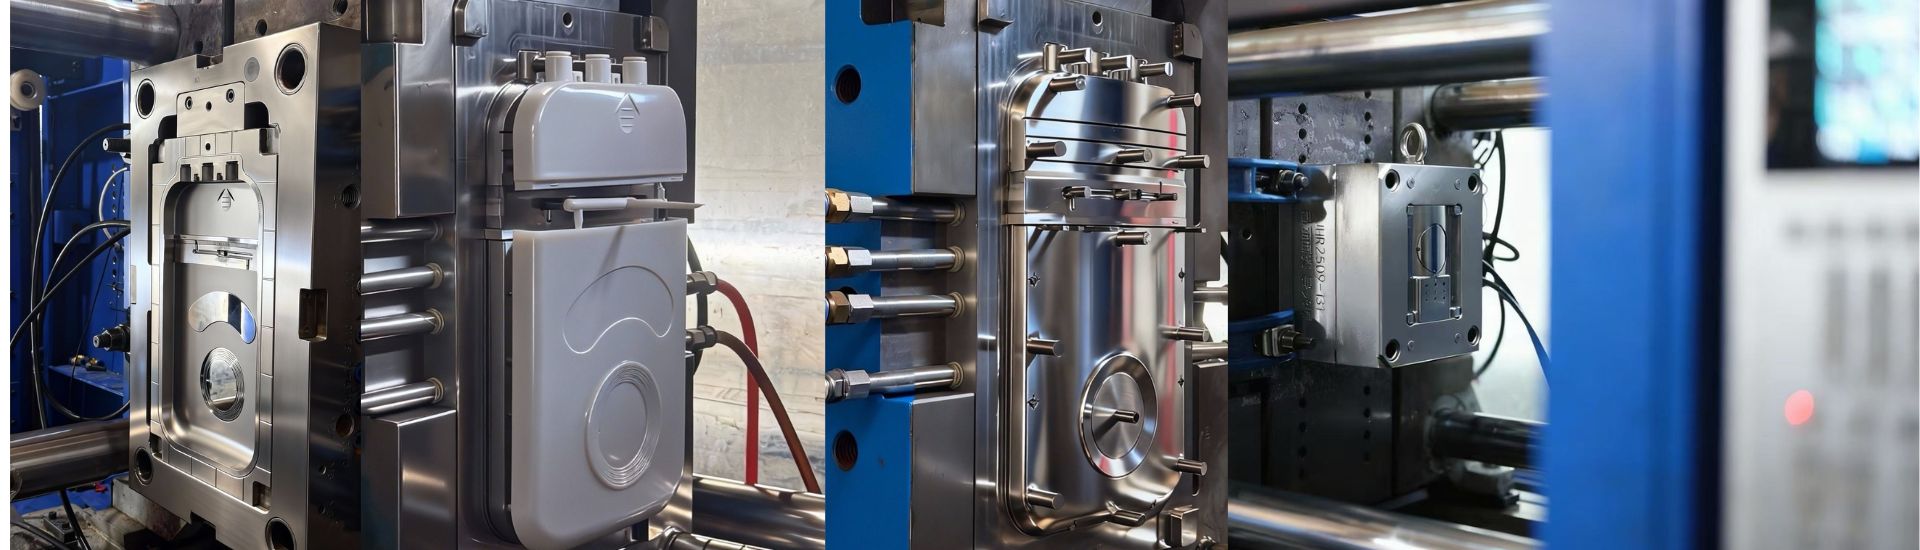


Note: This article explains what happens at each stage of mold tooling. For our current, project-specific delivery windows (by mold type, including the peak-season rule), see our real injection mold lead times.
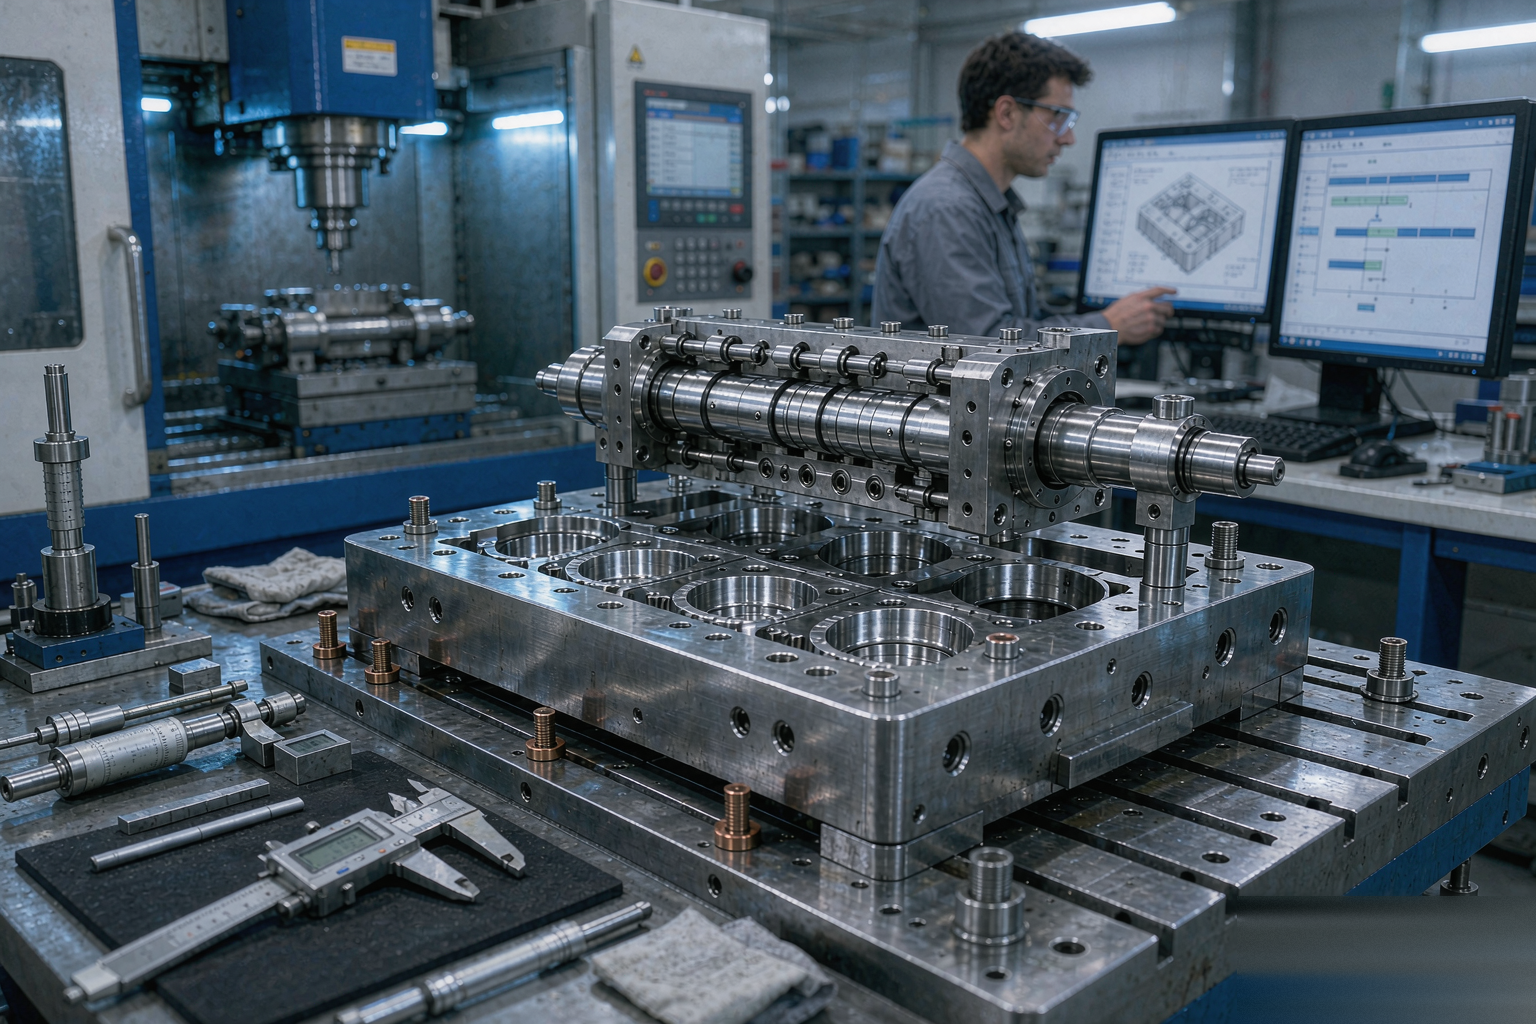
“How long will my mold take?” It is usually the first question a buyer asks — and often the first promise a supplier gets wrong. Quotes in this industry range from two weeks to six months for what sounds like the same part, and the gap is rarely explained. The truth is that injection mold lead time is not one number but a chain of stages — design freeze, steel procurement, machining, fitting, trials — and each stage can either run smoothly or quietly add weeks. This guide breaks down what really happens during tooling, what typical lead times look like by mold type, which factors stretch your schedule, and how to compress the timeline without buying a mold that will haunt your production floor.
The Short Answer: Typical Injection Mold Lead Times
For an export-quality production mold built by a competent in-house manufacturer, realistic lead times from purchase order to first articles look like this:
| Mold Type | Typical Lead Time | What’s Inside |
|---|---|---|
| Simple / prototype-grade tool | 2–4 weeks | 1–2 cavities, two-plate mold, no lifters, P20 steel, direct sprue or hot tip |
| Medium-complexity production mold | 4–8 weeks | 2–4 cavities, sliders or lifters, cooling circuits, H13 or hardened P20 |
| Complex production mold | 8–14 weeks | Multi-cavity, hot runner manifold, multiple actions, tight tolerances, texture or high polish |
| Family / two-shot or unscrewing molds | 12–18 weeks | Complex mechanisms, two resins, precision rotation or collapse cores |
Add two to five days of sea freight documentation and booking, and one to two weeks of shipping depending on destination. If a quote promises a complex 8-cavity hot-runner mold in three weeks, treat it the same way you would treat a car priced at half its market value — something is being left out.
What Actually Happens During Those Weeks
Understanding the stages makes the schedule — and every delay — legible:
- Design review and mold design (3–7 days). Your 3D model is analyzed for draft, wall thickness, gate location and steel-safe conditions, then the mold assembly drawing is created. If your part needs corrections, this is where they surface — and where a good DFM review pays for itself, because issues found here cost days, not weeks.
- Design freeze and your approval (1–3 days… or 3 weeks). The mold cannot be cut until you approve the 2D assembly. This step takes as long as your internal review loop takes. Buyers who respond in 24 hours keep their schedules; buyers who route drawings through three departments lose two weeks here without the supplier ever mentioning it.
- Steel procurement (3–10 days). Common P20 blocks are usually in stock. Hardened H13, stainless S136 or imported NAK80 can take one to three weeks to source with proper mill certificates — see our mold steel selection guide for why the right grade matters more than the fastest one.
- Rough machining (3–7 days). Blocks are cut to size, pockets are milled, and mold bases are prepared. Much of this runs unattended on CNC machines.
- Cavity and core machining (1–3 weeks). The heart of the job: CNC finishing of parting surfaces, cooling channels, and cavity geometry, followed by EDM for ribs, sharp corners and textures. Complex geometry with deep ribs or multiple actions sits at the top of this range.
- Heat treatment (3–7 days, if required). Hardened molds add a hardening and tempering cycle, plus re-grinding afterward.
- Polishing and texturing (2–7 days). A high-gloss SPI A1 finish is measured in days of skilled handwork per cavity. Texture requires sending the steel out to a texturing house — typically one to two weeks on its own.
- Assembly, spotting and fitting (3–7 days). The mold is matched, spotting-pressed, fitted with ejectors and sliders, and connected to the hot runner system if it has one.
- T1 trial and sampling (2–5 days per cycle). The mold runs on a molding machine of the correct tonnage. Most molds need one to three iteration cycles — venting tweaks, cooling adjustments, gate sizing — before samples are dimensionally signed off.
Stack the stages and the typical ranges above stop looking arbitrary. They are simply the honest sum of physical work.
The Factors That Stretch Your Schedule
When a mold overruns its quoted lead time, the cause is almost always on this list:
- Design changes after steel is cut. The single biggest killer. A wall thickness revision after cavities are machined can set a project back two to six weeks, because finished steel must be welded, re-machined and re-fitted — or replaced.
- Underestimating complexity. Every lifter, slider, unscrewing mechanism or additional cavity adds machining, fitting and trial time. A part that looked “simple” but has four external undercuts is not a four-week mold.
- Slow approvals. Drawing sign-offs, sample approvals and texture approvals all sit on your side of the table. Every approval loop that takes a week instead of a day adds that week to the project.
- Hot runner systems. A branded manifold (Husky, Mold-Masters, Yudo class) can itself carry a 2–4 week delivery, and it must arrive before final assembly and trial.
- Texture and special finishes. Outsourced texturing adds one to two weeks, and scheduling around the texturing house adds more if the mold is large.
- Excessive trial iterations. A mold that fails T1 on dimensions, and again on cosmetics, consumes a week per failed cycle. The root cause usually traces back to skipped engineering — no mold flow analysis, no venting plan, guessed gate sizes.
Why “Rush” Tooling Often Backfires
Every mold maker can be pushed to quote faster. The question is what gets squeezed. Compressing a six-week job into four weeks is usually legitimate — parallel machining, overtime, priority scheduling. Compressing it into two weeks almost always means one of the following: skipping mold flow analysis, cutting the spotting and fitting stage short, using whatever steel is on the shelf instead of the specified grade, or planning to “fix it at T1.”
The economics are brutal. A mold that ships early but needs three extra trial iterations, unscheduled repairs and a full refit costs far more in lost production time than the two weeks you “saved.” If your launch date is fixed, the better play is to move the schedule risks to the front: a thorough DFM review, a frozen design and an honest schedule — see also our guide on avoiding hidden costs when sourcing molds from China, where unrealistic lead-time promises are the most common hidden cost of all.
How to Compress Lead Time Without Sacrificing Quality
You can legitimately save two to four weeks on most projects by attacking the delays you control:
- Freeze the part design before quoting. Send a locked 3D model, not a work in progress. Every revision after the PO costs more than it would have cost in engineering time before it. A structured DFM pass before tooling starts is the highest-ROI week in the entire project.
- Specify material and surface finish with the RFQ. “TBD” on a drawing means the mold design waits. If you are unsure, ask the supplier for a recommendation and confirm it in writing — our plastic material selection guide covers the usual candidates.
- Commit to approval turnaround. Tell your supplier in advance how fast you will review drawings and samples — and hold yourself to it. Suppliers plan machine time around your responsiveness.
- Use standard mold bases where possible. Custom bases add machining days and delivery risk for zero functional benefit in most projects.
- Order long-lead items early. If your mold needs a branded hot runner or imported steel, approving those purchases at 30% deposit instead of after final drawing approval can pull two weeks out of the critical path.
- Consider a prototype bridge. If production parts are needed during tooling, CNC-machined or 3D-printed prototypes from the same resin bridge the gap without pressuring the mold schedule.
How to Read a Supplier’s Lead-Time Promise
Two suppliers quote the same part at “6 weeks” and “8 weeks.” Which one is lying? Before comparing numbers, make them compare definitions:
- What does the clock start on? PO date, design approval date, or deposit receipt? An 8-week quote starting at design approval can be faster than a 6-week quote starting at PO.
- Where does it end? T1 samples shipped? Samples approved? Mold loaded on the truck? Ask specifically: “lead time to T1 samples in hand.”
- How many trial iterations are included? A schedule that assumes one perfect T1 is a schedule written to be missed.
- Is machining in-house? A workshop that subcontracts EDM or texturing cannot control its own critical path. Ask which processes happen under their roof.
- What is the revision policy? How are design changes quoted in time — before or after they happen?
A supplier who answers all five without hesitation has actually planned your project. One who answers “yes, no problem” to everything has not — and the schedule will reveal it around week three.
Get a Realistic Schedule and a 12-Hour Quote
Send your 2D or 3D drawings, target material, annual volume and surface finish requirements to D-TOP MOLD. Within 12 hours you will receive a detailed quotation with a free DFM review — including a stage-by-stage tooling schedule that states exactly where the clock starts, what is included, and how many trial iterations are planned. We would rather quote you an honest eight weeks than a hopeful five, because our repeat customers measure us against the schedule we committed to — and come back for their next mold.