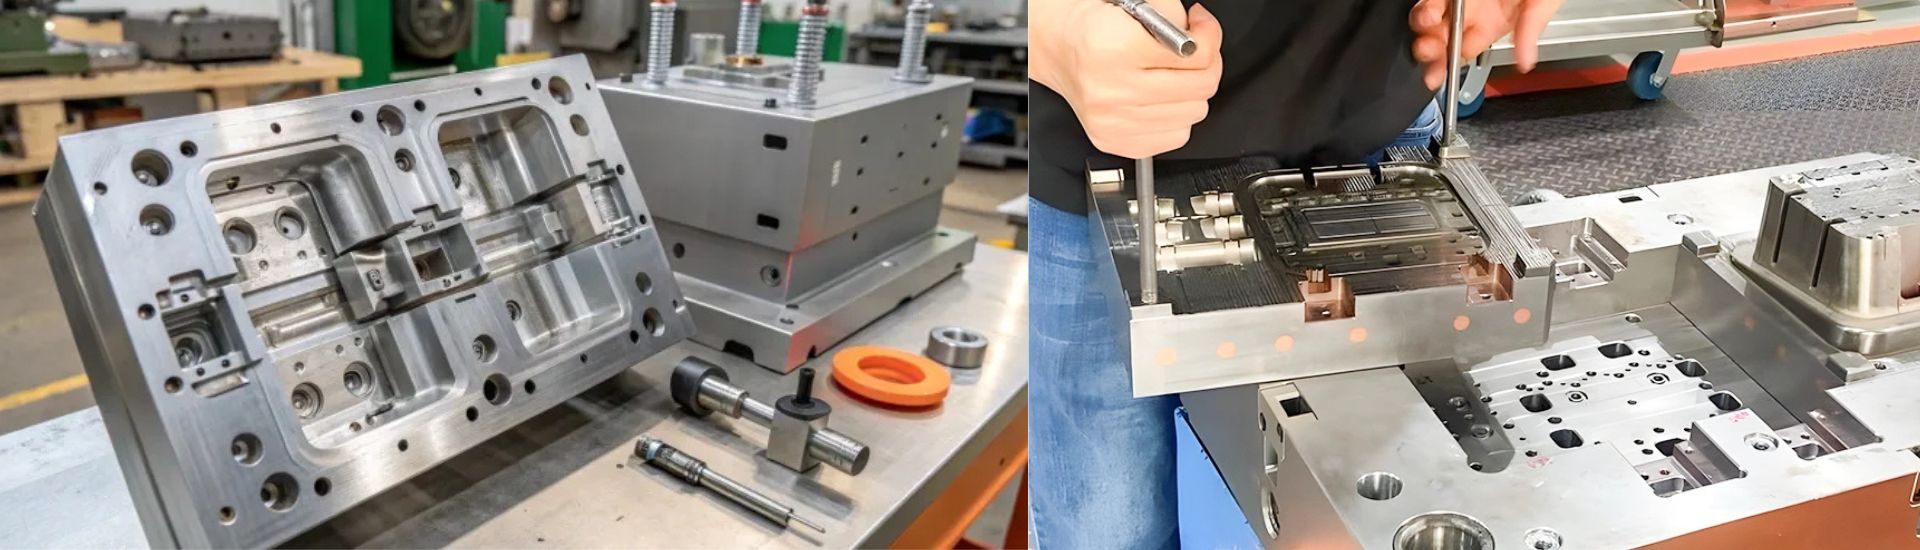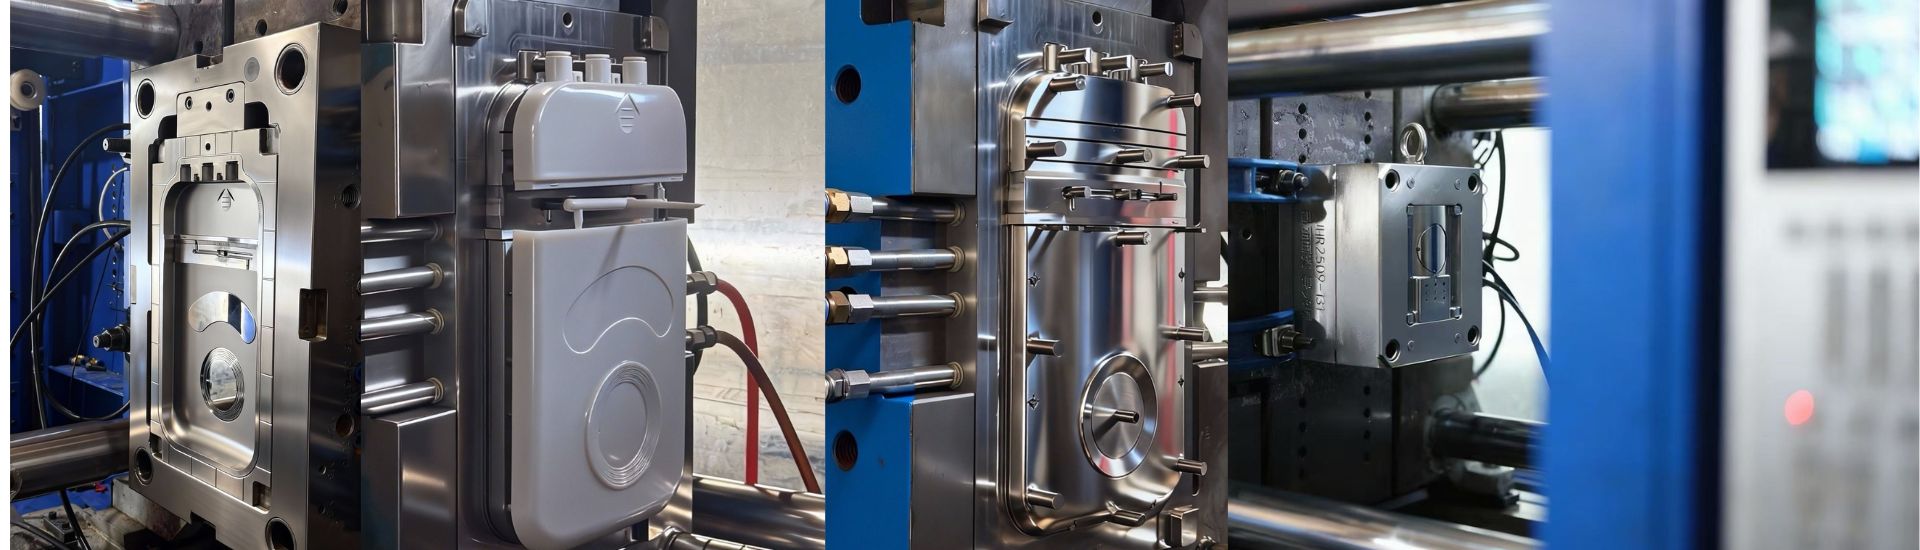


Most injection molding defects are not mysteries. They are symptoms with traceable causes — and most of them can be traced back to one of three things: the mold design, the processing window, or the material. A buyer or engineer who learns to read those symptoms can fix a defect in minutes instead of waiting days for a mold trial.
This guide walks through the 12 defects we see most often on plastic injection molded parts in our Suzhou facility, the root cause behind each one, and the practical fix your mold maker or process engineer should apply. Use it as a field reference when a sample arrives looking wrong, or as a checklist before approving a T0 trial.
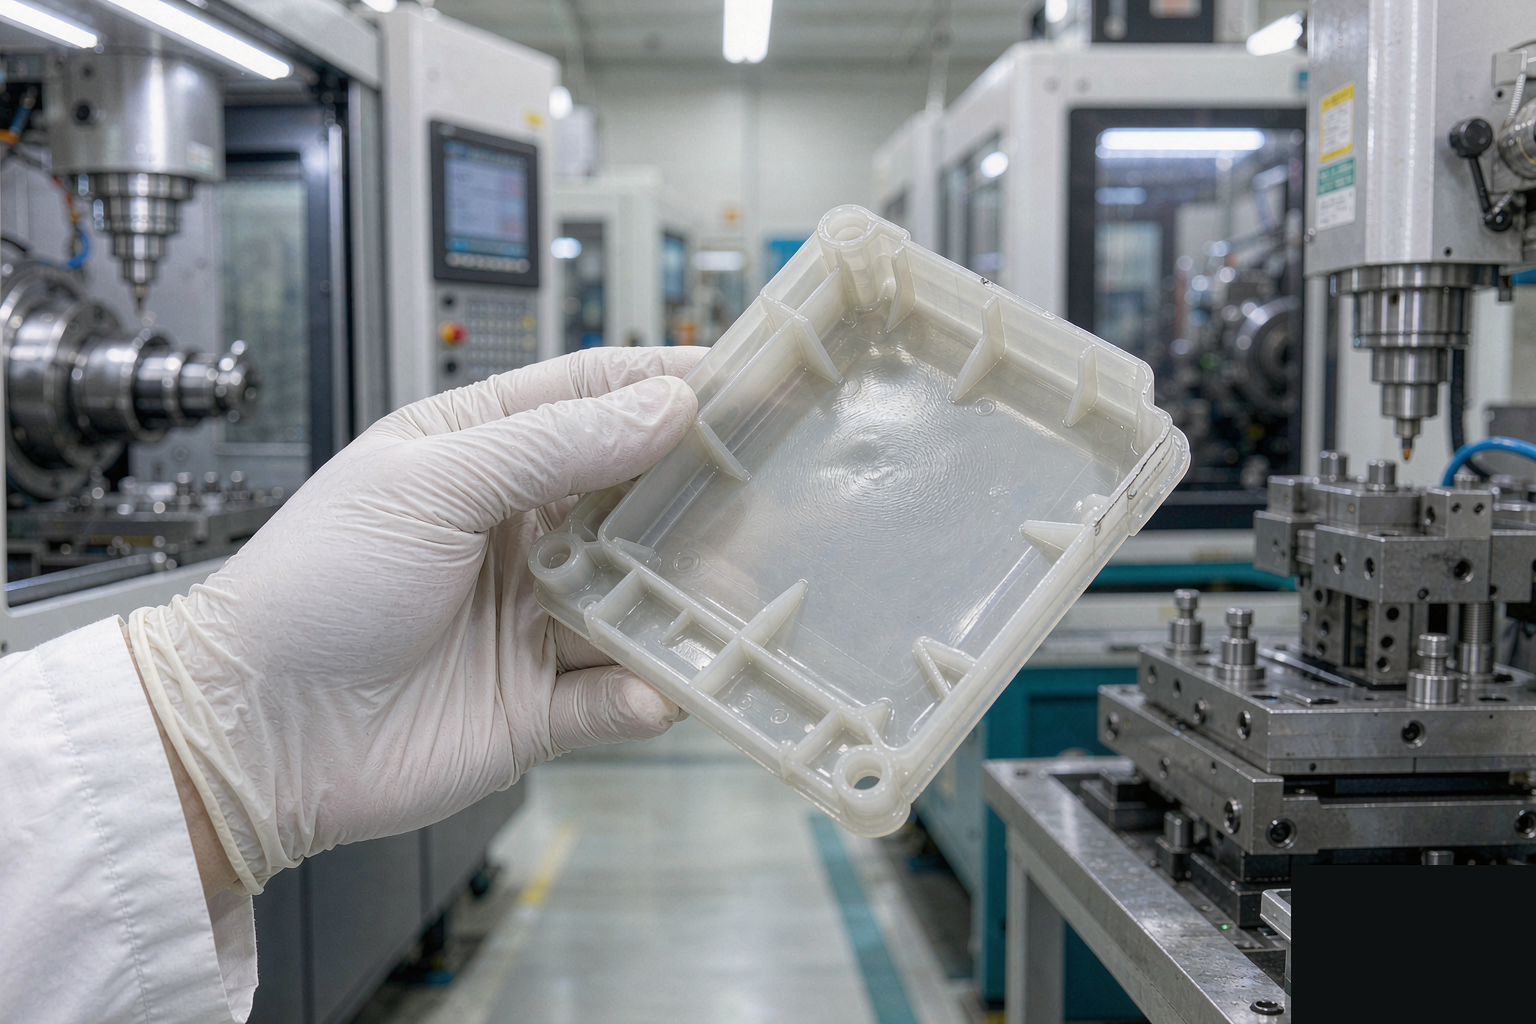
What Causes Injection Molding Defects?
Every defect on a molded part has a root cause, and the root cause is almost always one of the following: insufficient or excessive injection pressure, a wrong melt or mold temperature, a wall section that is too thick or too thin, a poorly placed gate, or moisture in the resin. A good rule of thumb is that 60% of cosmetic defects are geometry or material related, and 40% are processing related — which is why a free DFM review before tooling pays for itself many times over.
1. Sink Marks
What it looks like: a shallow depression on the surface, usually above a thick section, boss, or rib.
Root cause: the part surface solidified before the underlying material finished shrinking. Common triggers are wall thickness above 4 mm, packing pressure held too short, or a gate that froze off early.
How to fix it: reduce wall thickness to a uniform 2.5–3.5 mm wherever possible, increase packing pressure and packing time, raise melt temperature slightly, and move the gate closer to the heavy section. For ribs and bosses, follow the 0.5–0.7× wall-thickness rule to keep them from feeding the sink.
2. Flash (Burrs)
What it looks like: a thin film of plastic escaping along the parting line, around ejector pins, or at slider interfaces.
Root cause: clamp tonnage is too low for the projected area, or the mold faces are worn, misaligned, or contaminated. Excessive injection speed or pressure can also force material past a venting gap.
How to fix it: check tonnage (you need roughly 1 ton per cm² of projected area for most thermoplastics), rework the parting line, add venting at the flash location, and reduce injection speed at the end of fill. Persistent flash at the same spot almost always means a mold maintenance issue, not a process one.
3. Short Shots
What it looks like: the part is incomplete — a section is missing or the cavity never fully filled.
Root cause: insufficient material, insufficient injection speed, frozen flow front, or excessive venting. With glass-filled or high-viscosity resins, a cold mold can solidify the skin before the cavity fills.
How to fix it: increase shot size, raise melt and mold temperature, increase injection speed, and check the heater bands on the barrel. If the part still short-shots, the gate may be too small or the runner too long — both are design issues, not process issues.
4. Warpage
What it looks like: the part is twisted, bowed, or out of flatness after ejection.
Root cause: uneven cooling, uneven wall thickness, or molded-in stress. Glass-filled materials are especially prone because the fibers orient with the flow and shrink differently along and across the flow direction.
How to fix it: balance wall sections, add cooling channels that follow the part contour, increase cooling time, reduce melt temperature, and consider switching to a lower-shrinkage resin. For tight tolerance parts, a fixture during cooling is often cheaper than reworking the geometry.
5. Weld Lines (Knit Lines)
What it looks like: a visible line on the surface where two flow fronts met, often near a hole or insert.
Root cause: material splits around an obstruction and re-merges imperfectly. The molecular bond at a weld line is weaker than the surrounding material, and the surface is rarely cosmetically identical to a non-welded area.
How to fix it: raise melt and mold temperature, reposition the gate so the weld line lands on a non-critical or non-visible surface, and add a relief at the obstruction. For structural parts, a weld line in a high-stress area should be redesigned away — it is rarely acceptable as a cosmetic-or-function compromise.
6. Voids and Bubbles
What it looks like: a hollow cavity inside a thick section, sometimes visible as a bubble on the surface.
Root cause: the outer wall froze before internal shrinkage could be fed by packing — the same mechanism as a sink mark, but the void is fully enclosed. Common in thick bosses, ribs, and glass-filled materials.
How to fix it: reduce wall thickness, extend packing time, and add a secondary gate to feed the heavy section. For thick optical parts, internal voiding is sometimes unavoidable and must be designed around rather than designed out.
7. Burn Marks (Diesel Effect)
What it looks like: dark brown or black streaks, often at the end of fill or near vents.
Root cause: air trapped in the cavity compressed adiabatically — the so-called diesel effect — heating the trapped gas until it scorches the plastic. Insufficient venting is the most common cause.
How to fix it: add or enlarge vents at the end of fill, reduce injection speed in the final 10% of stroke, and lower melt temperature. Burn marks almost always indicate that the mold needs more venting, not that the process needs more pressure.
8. Jetting
What it looks like: a snake-like curl of plastic visible on the part surface, often starting at the gate.
Root cause: melt enters the cavity at high velocity in a free jet, folding back on itself before it touches the wall. Common with small gates into thick sections or low-viscosity resins.
How to fix it: move the gate so the melt impinges on a wall or core pin first, reduce injection speed at the start of fill, enlarge the gate, or use a tab/film gate instead of a direct sprue gate. Jetting is a defect of flow, not pressure.
9. Flow Marks
What it looks like: wavy or streaky patterns radiating from the gate, often with a dull or hazy appearance.
Root cause: the surface skin of the melt has cooled against a cold mold wall, and the underlying material is still flowing — the slip between the two layers leaves a visible pattern.
How to fix it: raise mold temperature, raise melt temperature, and increase injection speed. For highly cosmetic parts, polished mold surfaces and a higher-quality surface finish (e.g., SPI-A1 or A2) can hide minor flow marks.
10. Silver Streaks
What it looks like: thin silver or white streaks on the surface, often radiating from the gate.
Root cause: moisture in the resin vaporizing at melt temperature, or degraded material with entrained gas. Especially common with hygroscopic resins like PA (nylon), PC, ABS, and PMMA.
How to fix it: dry the resin according to the material supplier’s specification (typically 80–120°C for 2–4 hours), verify the dryer is actually delivering dew point below -40°C, and reduce shear by lowering screw RPM or back pressure. Silver streaks in nylon almost always mean the dryer is the problem.
11. Gate Blush and Gate Vestige
What it looks like: a halo, haze, or white ring around the gate, or a visible stub of plastic that needs to be trimmed.
Root cause: gate blush is a stress pattern from cold material meeting hot material at the gate. Gate vestige is simply the leftover material after degating.
How to fix it: raise melt temperature, increase the gate diameter, switch to a hot runner system, or use a gate type that can be concealed (submarine, tunnel, or hot tip). For cosmetic parts, gate location is a design decision made at the RFQ stage — moving it later is expensive.
12. Splay and Delamination
What it looks like: silver or white streaks (splay) and surface flakes or layers that peel off (delamination), often accompanied by a cracking sound during ejection.
Root cause: contamination between incompatible resins, excessive shear heat, or moisture in the melt. Delamination specifically points to incompatibility — the layers are not bonding molecularly.
How to fix it: purge the barrel thoroughly between resin changes, verify resin storage and drying, and lower melt temperature to reduce shear. If the problem persists, a material compatibility test in the lab is faster than guessing on the production floor.
Quick Reference Table
| Defect | Primary cause | First fix to try |
|---|---|---|
| Sink marks | Insufficient packing / thick wall | Increase pack time, thin the wall |
| Flash | Low tonnage / poor venting | Check clamp tonnage, vent the cavity |
| Short shot | Insufficient material / speed | Increase shot size and speed |
| Warpage | Uneven cooling / stress | Balance wall, add cooling channels |
| Weld line | Flow split around feature | Reposition gate, raise temperature |
| Voids | Internal shrinkage | Add packing, add gate to thick area |
| Burn marks | Trapped air compression | Add or enlarge vents |
| Jetting | Free jet into cavity | Move gate to impinge on wall |
| Flow marks | Cold surface, slipping skin | Raise mold and melt temperature |
| Silver streaks | Moisture in resin | Dry resin properly (PA, PC, ABS, PMMA) |
| Gate blush | Cold material at gate | Enlarge gate, raise melt temp |
| Splay / delamination | Resin contamination | Purge barrel, check material |
How to Prevent Defects Before Tooling
Defects caught at T0 cost days. Defects caught in DFM cost minutes. The cheapest place to fix any of the 12 defects above is on the engineering review, before steel is cut. A few habits prevent most of them:
- Keep wall thickness uniform, ideally 2.5–3.5 mm, and follow the 0.5–0.7× rib rule.
- Place gates in non-visible, non-structural areas whenever possible.
- Specify surface finish and texture in the RFQ, not after the first sample.
- Match the steel grade and cavity count to your real annual volume.
- Confirm the resin grade, drying requirements, and recycled-content limits with the supplier before T0.
Get a DFM Review Before Your Next Tool
If you are about to start a new injection mold project, send us your STEP file and target volume. D-top Mould provides a free DFM review and a 12-hour quote response on working days — built in our Suzhou facility with P20 / H13 / S136 steel, hot runner systems from Mold-Masters and Yudo, and English-speaking project management from RFQ through T1 sample approval. We flag the wall-thickness, draft, gate, and under-cut issues that turn into sink marks, weld lines, and short shots before the steel is cut.
Upload your 3D model on the Quick Quote page and you will have a real, fixed quote — with defect-prevention notes you can act on — by the next business day.